Blacksmithing – A Key to Success in Tamriel
Blacksmithing is an important skill for every adventurer in Tamriel to develop. With Blacksmithing, you can give yourself an edge in armor and weapons. Typically, only items such as rare drops from mobs will provide better stats than a well crafted item. Historically in Elder Scrolls, with enough skill in crafting, one can even outperform these rare drops and even Daedric artifacts!
This tutorial will cover:
- Mining Ore
- Refining Ore
- Motifs
- Crafting an Iron Battleaxe
- Extraction
- Research
- Improvement
“Do not wait to strike till the iron is hot; but make it hot by striking” – William Butler Yeats
Iron is the first and most common resource for smithing. You will find it is readily available in the starter areas of TESO. It’s easily recognizable as burnt orange rock resting above ground. It is more often found near rock formations, in mining areas, or in caves.
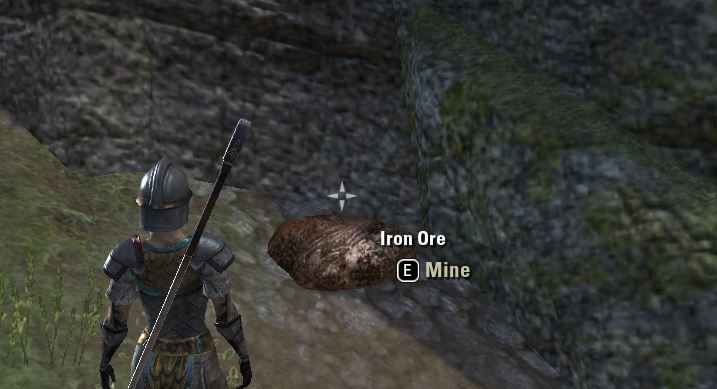
Oh look, a conveniently placed chunk of iron ore.
To mine the iron, simply approach it and point at it. You will be prompted to mine the iron. Press “E” (or whatever key you have bound to Interact) and your character will strike the rock a few times with a pickaxe. You do not need a pickaxe in your inventory to mine. Your character will produce one from hammerspace. An inventory window will appear much like if you were to loot a chest. You can collect your iron ore. Mining iron ore will produce anywhere from 1 to a few iron ore pieces.
“Surely there is a mine for silver and a place where they refine gold. Iron is taken from the dust, and copper is smelted from rock. ” – Job 28:1-2
In order to use the ore, you must refine it. To refine ore, one must needs find a Blacksmithing Station. These are commonly found in population centers where NPCs reside. Sometimes you can find Blacksmithing Stations and other crafting areas in small villages as well.
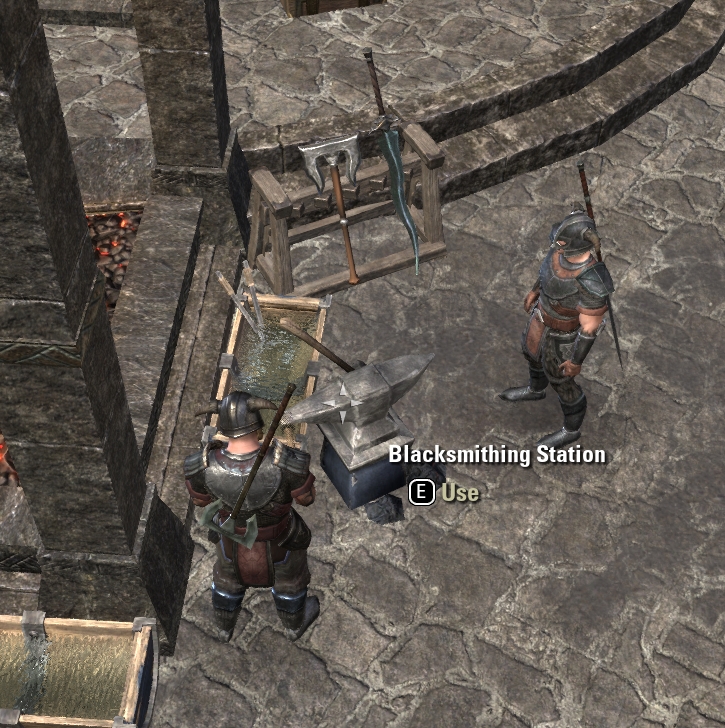
Nords can often be found socializing near Blacksmithing Stations.
This Lusty Argonian Blacksmith will polish your spear nicely.
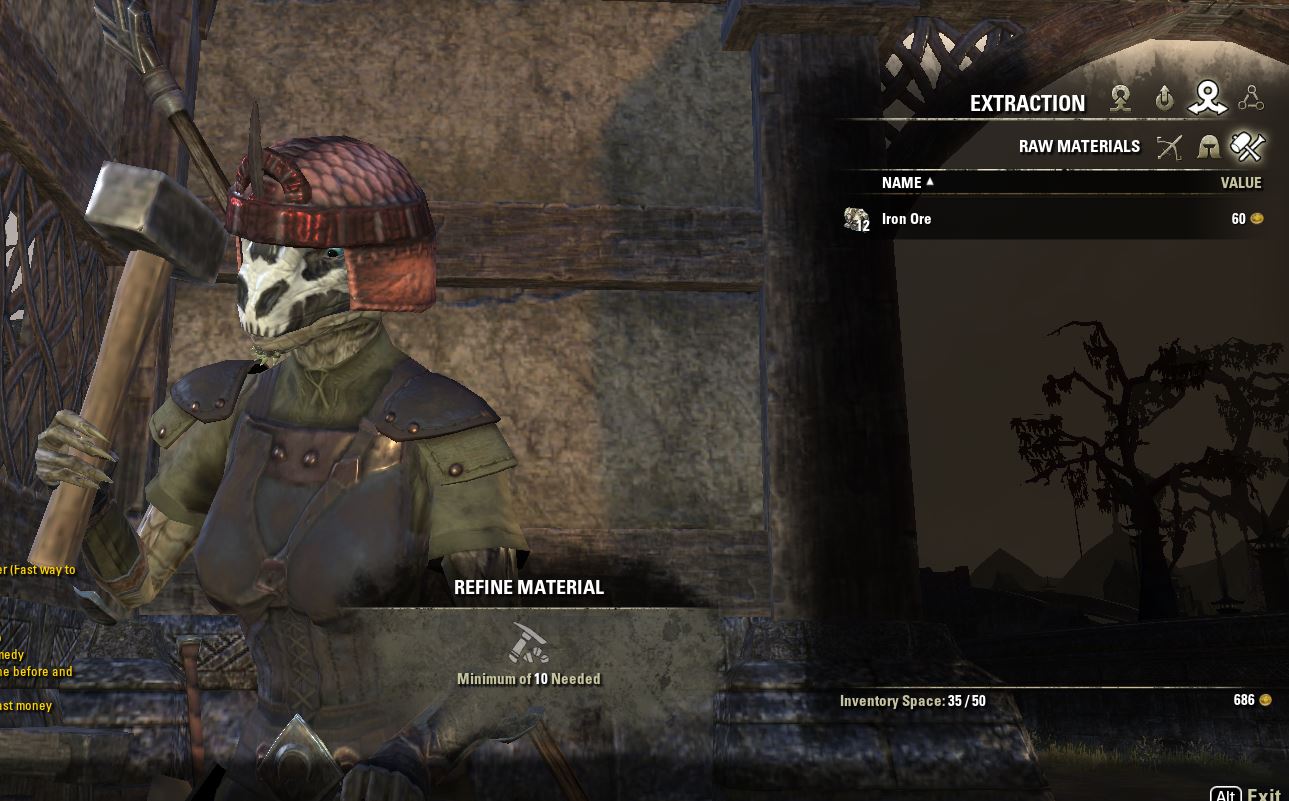
Click the Extraction icon in the crafting menu. Then click Raw Materials to see your options. You will need a minimum of 10 ore to refine any ingots. Once you refine, 10 ingots will be added to your inventory. (You can also extract materials from already crafted items. More on this later.)
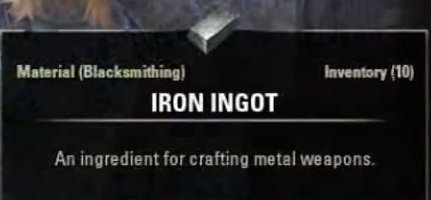
Also makes a good paper weight.
Now you can craft a battleaxe, right?
Wrong.
“Create your own visual style… let it be unique for yourself and yet identifiable for others.” – Orson Welles
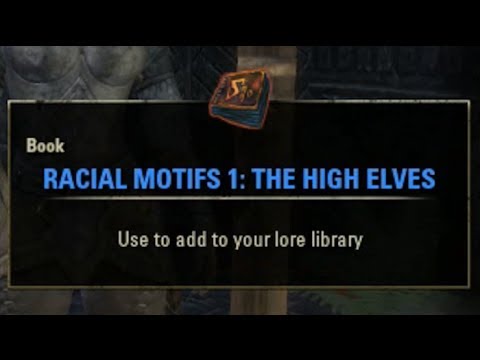
If you want to craft, you need style baby! Lucky for you, there are amazing items called Motifs that do all that hard work for you. Using a motif is necessary to craft an item, and it also effects the appearance of the item.
You will start the game knowing one motif, depending on the race of your character. If you want to craft in other styles, you’ll need to read the appropriate book.
If they’re high I want what they have.
Since this is just a basics tutorial we won’t worry about those details just yet.
If you haven’t picked up any motif items that dropped from mobs or were found in chests, that’s ok. For a little bit of gold your local blacksmith NPC will happily provide you with one.
“Hit it like it owes you money.” – Anonymous Blacksmith
Now you can craft your axe!

Just beat it.
Notice that you can adjust the amount of ingots you use. Increasing the ingots used will increase the base damage of this weapon (or base armor as the case may be) as well as the level. Don’t accidentally craft an item that’s too high level for you to equip! You can also apply a trait to the item. This is not necessary to craft anything. You can craft a plain-jane battleaxe for yourself and it will cleave and chop just fine.
Congratulations! You have taken your first steps to becoming a skilled Blacksmith, but wait, there’s more! By using Extraction, Research, and Improvements you can expand and empower yourself and others around you.
“We live in a disposable society. It’s easier to throw things out than to fix them. We even give it a name – we call it recycling.” – Neil LaBute
Extraction is essentially recycling items to squeeze a few resources out of them. What you get out of the item is related to it’s components: The material, style, and traits. The more skilled a blacksmith you are, the more productive extraction will be.
NOTE: You will not get experience from extracting items you crafted, but you will still get some materials back.
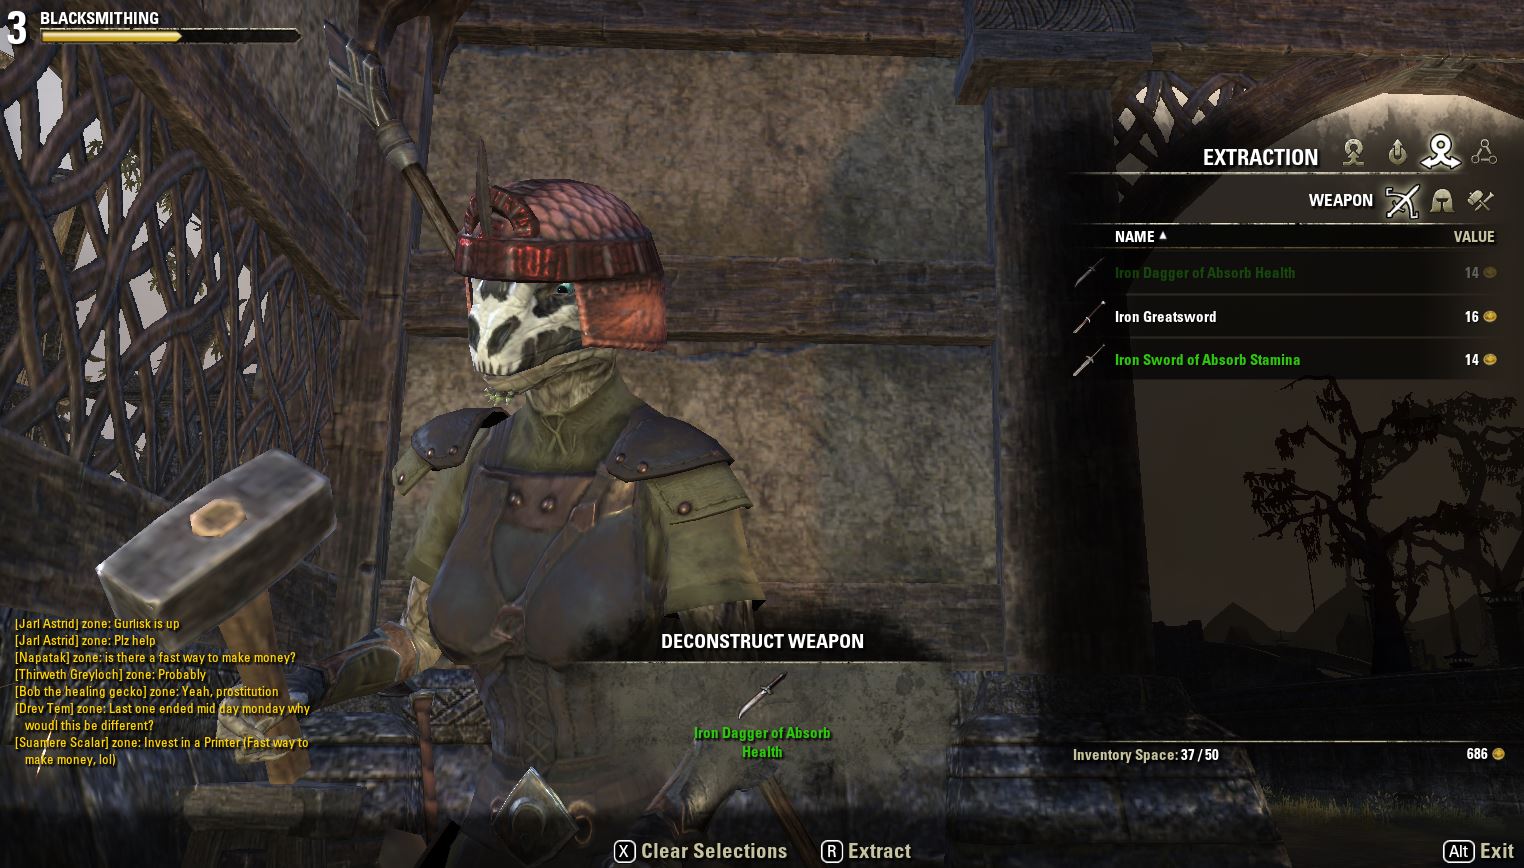
Simply go to the extraction tab, as you did before when you were refining. This time, choose an item from the Weapons or Armor tabs. We’ll be extracting this here dagger. You can get iron, or a motif item out of this process, and some good experience (if you didn’t craft the item).
“If we knew what it was we were doing, it would not be called research, would it?” – Albert Einstein
Our Argonian friend adopts a contemplative pose for this serious decision.
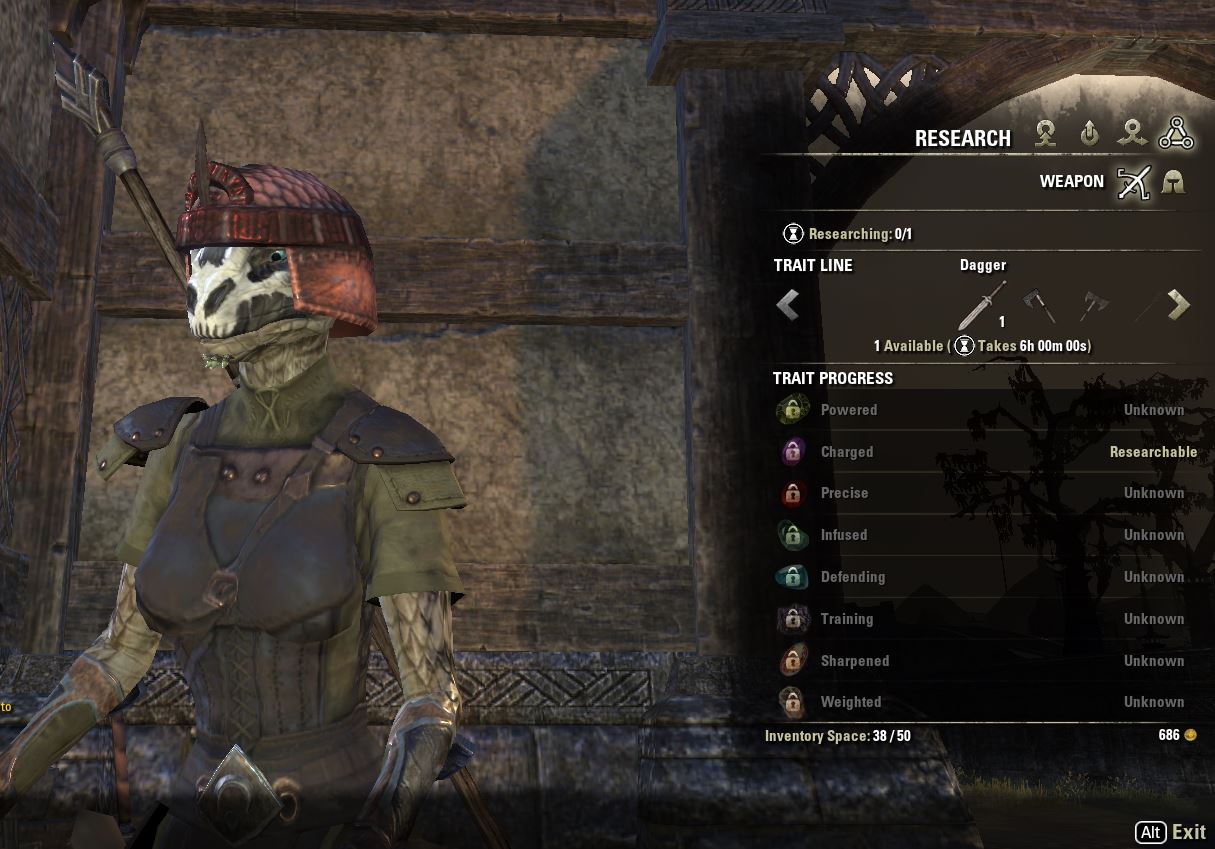
To research an item, click the research tab. The menu will disorient and dazzle you at first. Take a breath, it’s going to be ok.
Firstly, only items with traits can be researched. You can research dropped items, purchased items, or items crafted by other players.
You can only research one item at a time per crafting skill. This means you can parallel research, say, an iron dagger and an enchanted robe. However, you cannot research an iron dagger and a steel mace.
Researching takes a long time, but it’s worth it as the advantages you get from traits are many and useful.
The items are organized according to type. Daggers, axes, swords etc. A number will be next to the icon indicating researchable items in your possession. Below the slider is a list of researchable traits. In the image above we can see that we have a dagger with the Charged trait that we can use for research.
WARNING: RESEARCHING AN ITEM DESTROYS IT!
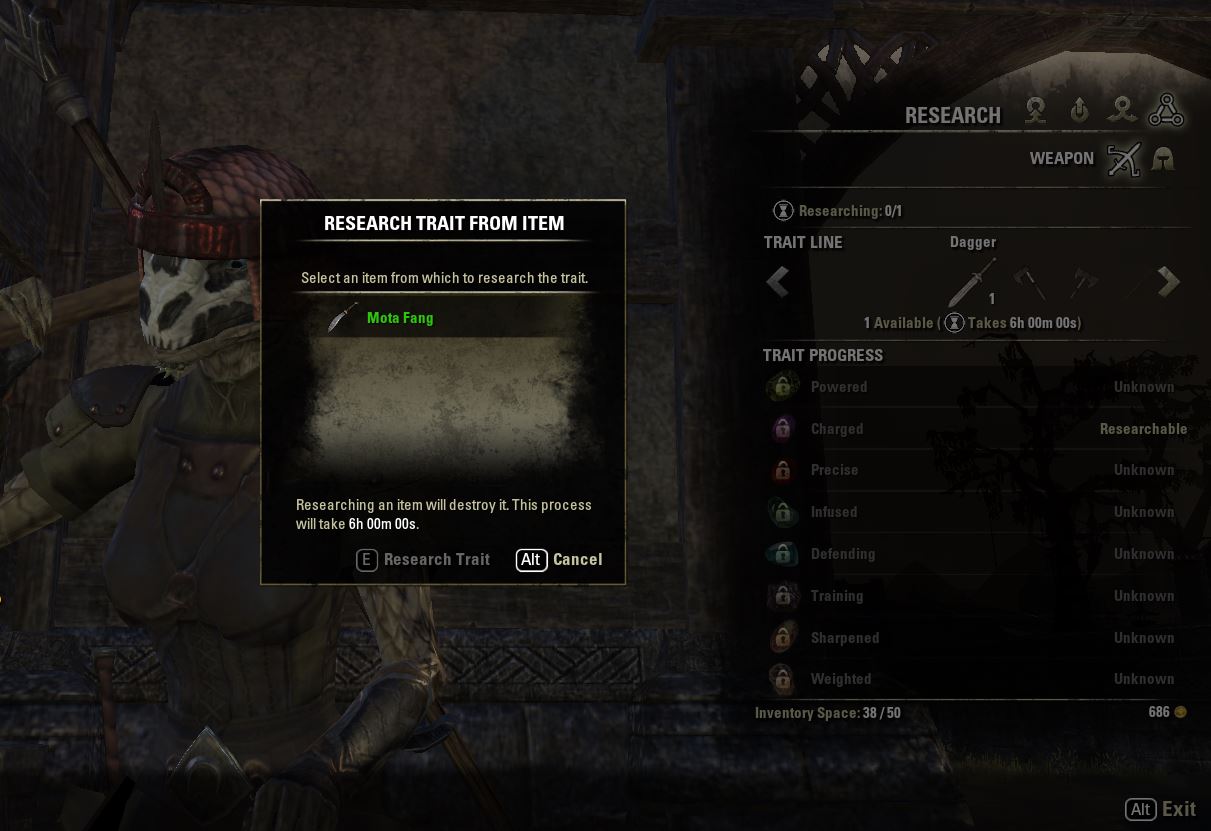
WARNING: Researching an item destroys it!
WARNING: RESEARCHING AN ITEM DESTROYS IT!
WARNING: RESEARCHING AN ITEM DESTROYS IT!
You have been warned.
Go find some more iron ores, or go outside for once. This will take some time. Once you’ve researched a trait, you can apply it to weapons or armor depending on the type of trait it is.
Remember this picture? It’s our iron axe. Different precious stones can be applied to a crafted item in order to achieve different traits. This trait will increase the strength of an enchantment placed on the axe.
“Improvement begins with I.”- Arnold H. Glasgow
Want to squeeze every last bit of damage out of your axe? Improve it!
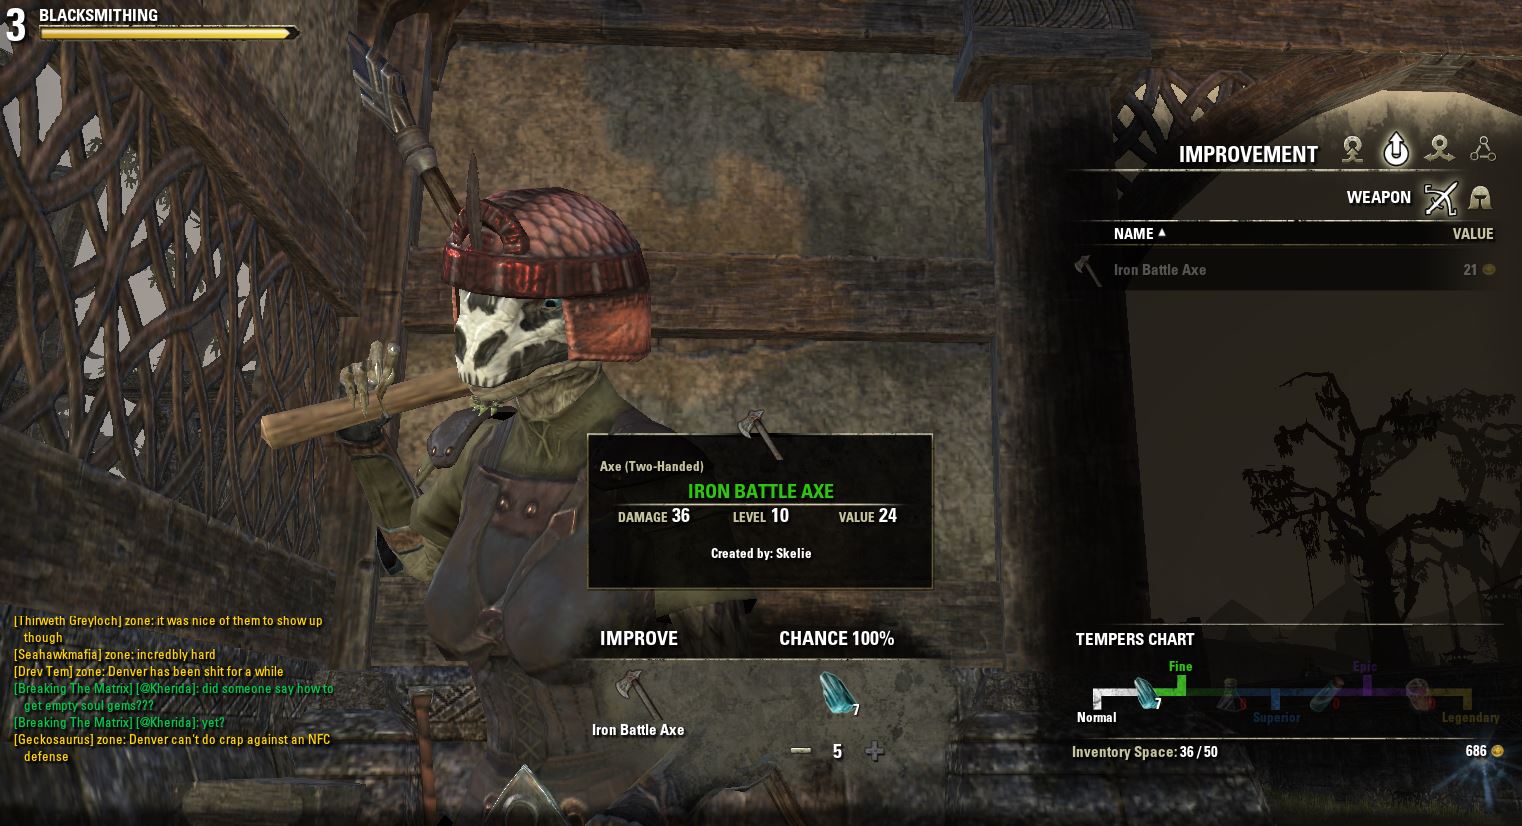
By improving an item you increase it’s potential. In the case of our axe, by improving it we increase the value and damage output.
To improve an item, you must first have it in your inventory. You cannot work on items that are equipped.
At the trusty Blacksmithing Station, choose the Improvement tab. Then choose weapons, or armor. A list of improveable items will be presented to you. Below that is a chart which demonstrates how the improvement process works.
If you want to improve an item from normal to Fine quality, you’ll need the appropriate material as indicated by the chart and so on up to Legendary quality.
When you improve an item, you risk destroying it!
You can use extra improvement resources to reduce the chances of this happening, up to 100% success.
Congratulations, you are now an educated novice blacksmith and ready to craft the gear you’ll use to conquer Tamriel! By using stronger metals, the right traits, and some improvements you can turn your adventurer in shoddy gear with wounded knees into a virtual juggernaut.